For many years I've fantasised about making a tailored blazer.
A blazer that included canvas interfacing, pad stitching, roll-lines and is mainly sewn by hand.
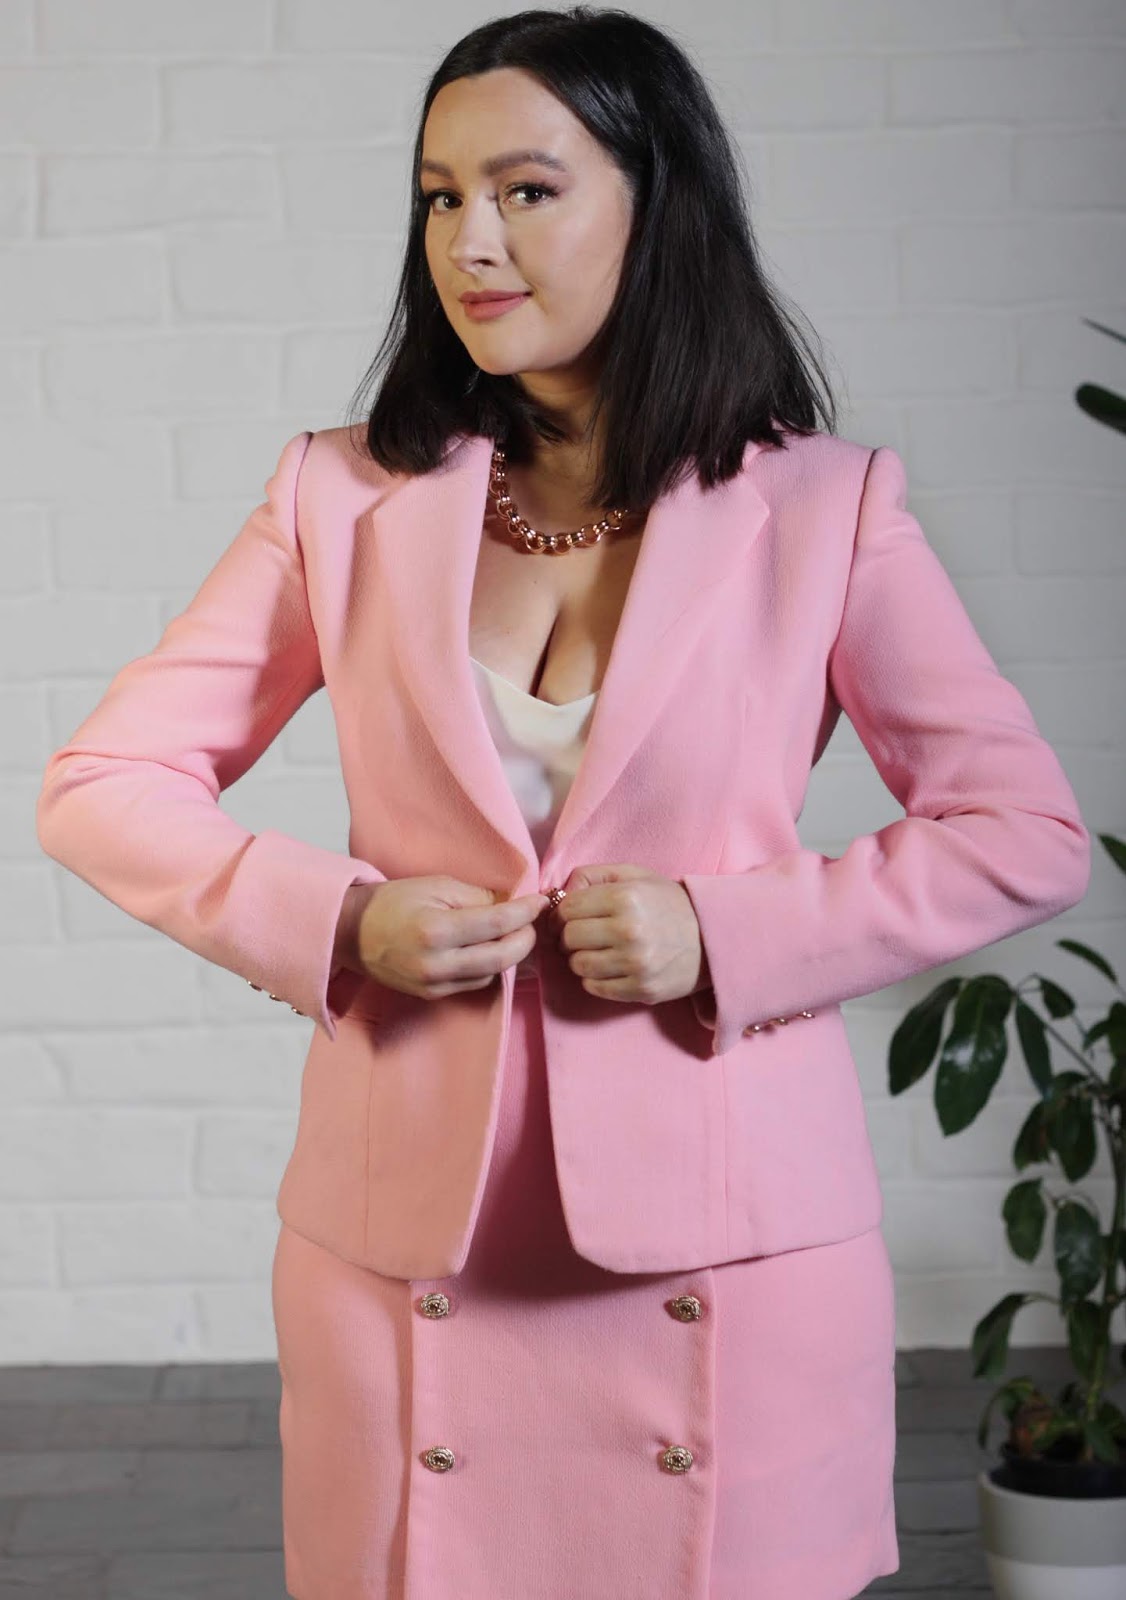
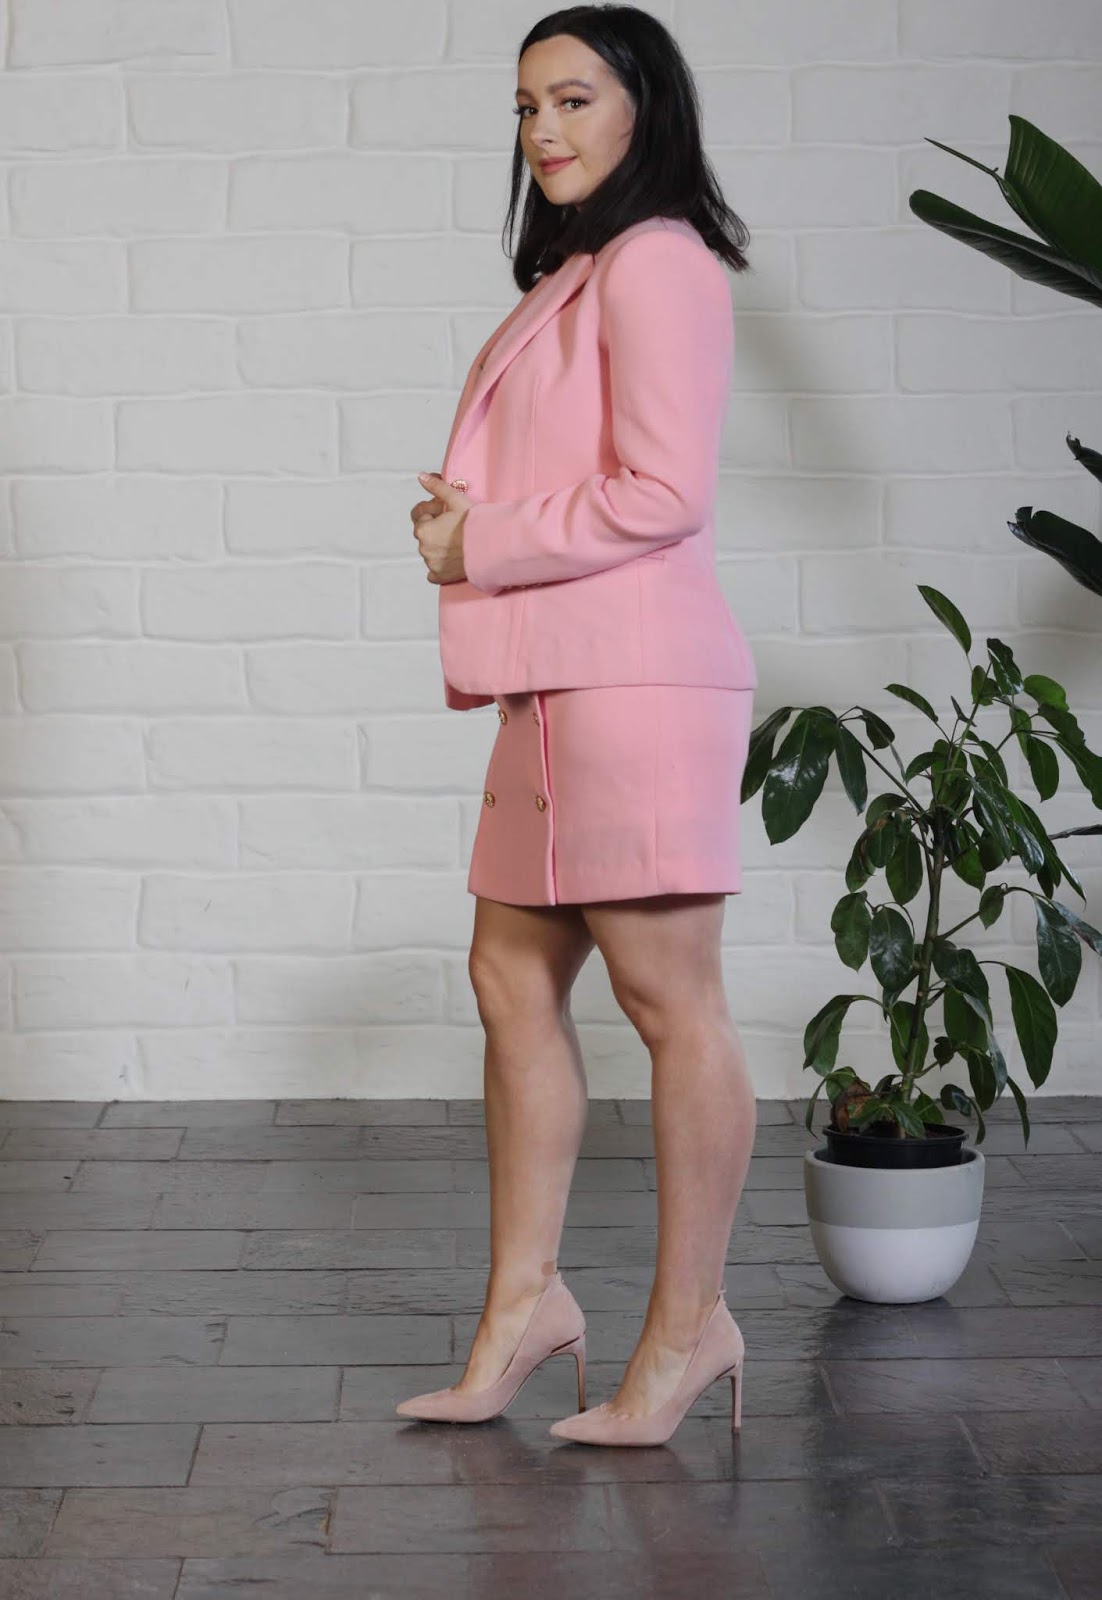
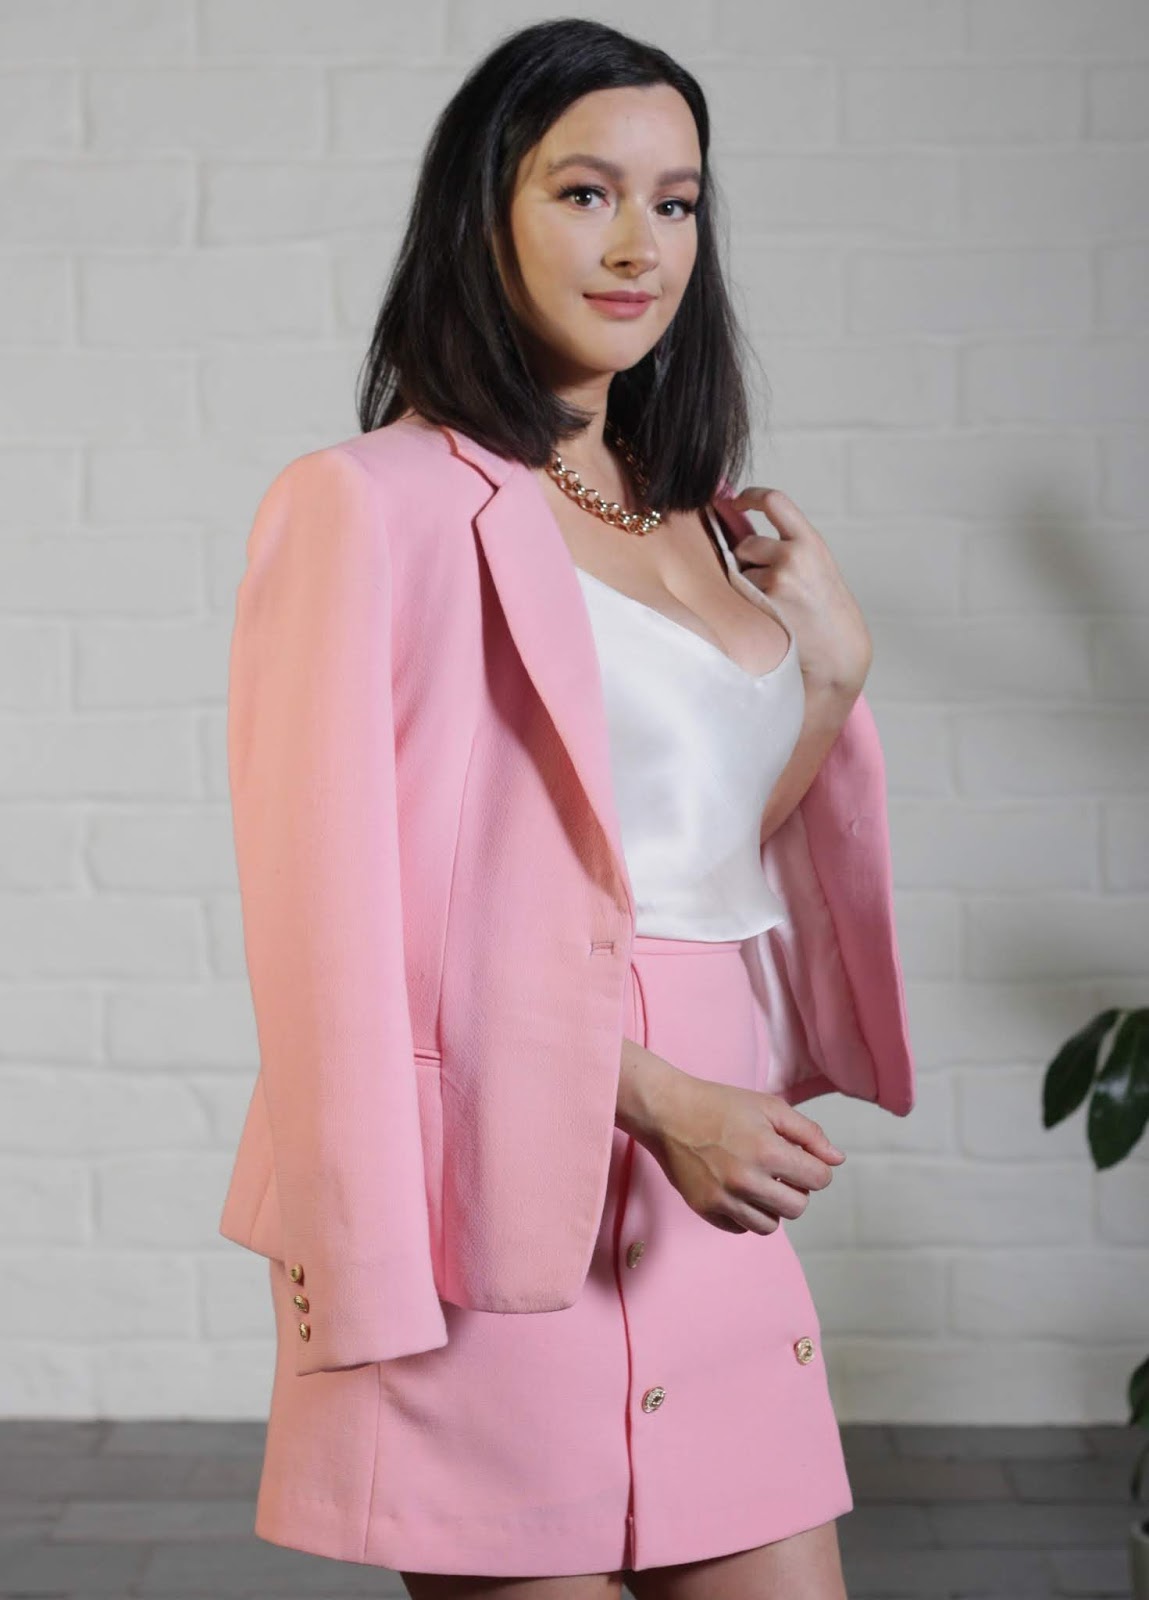
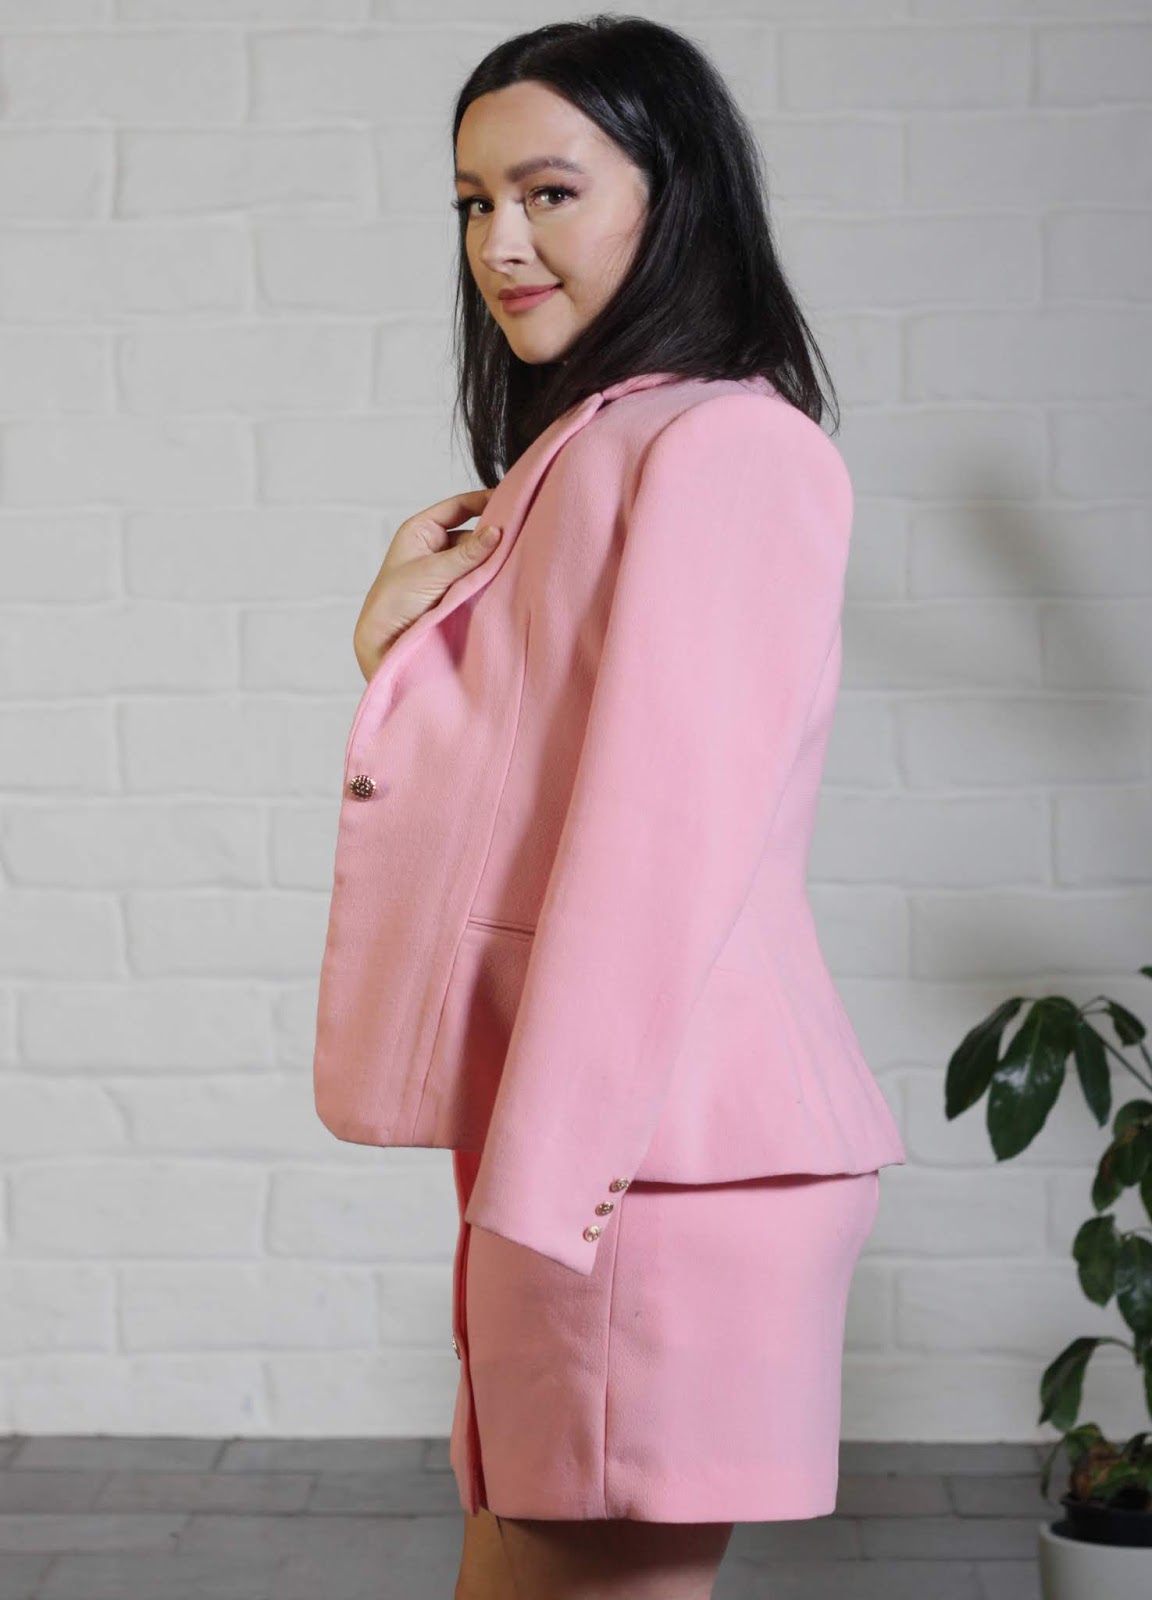
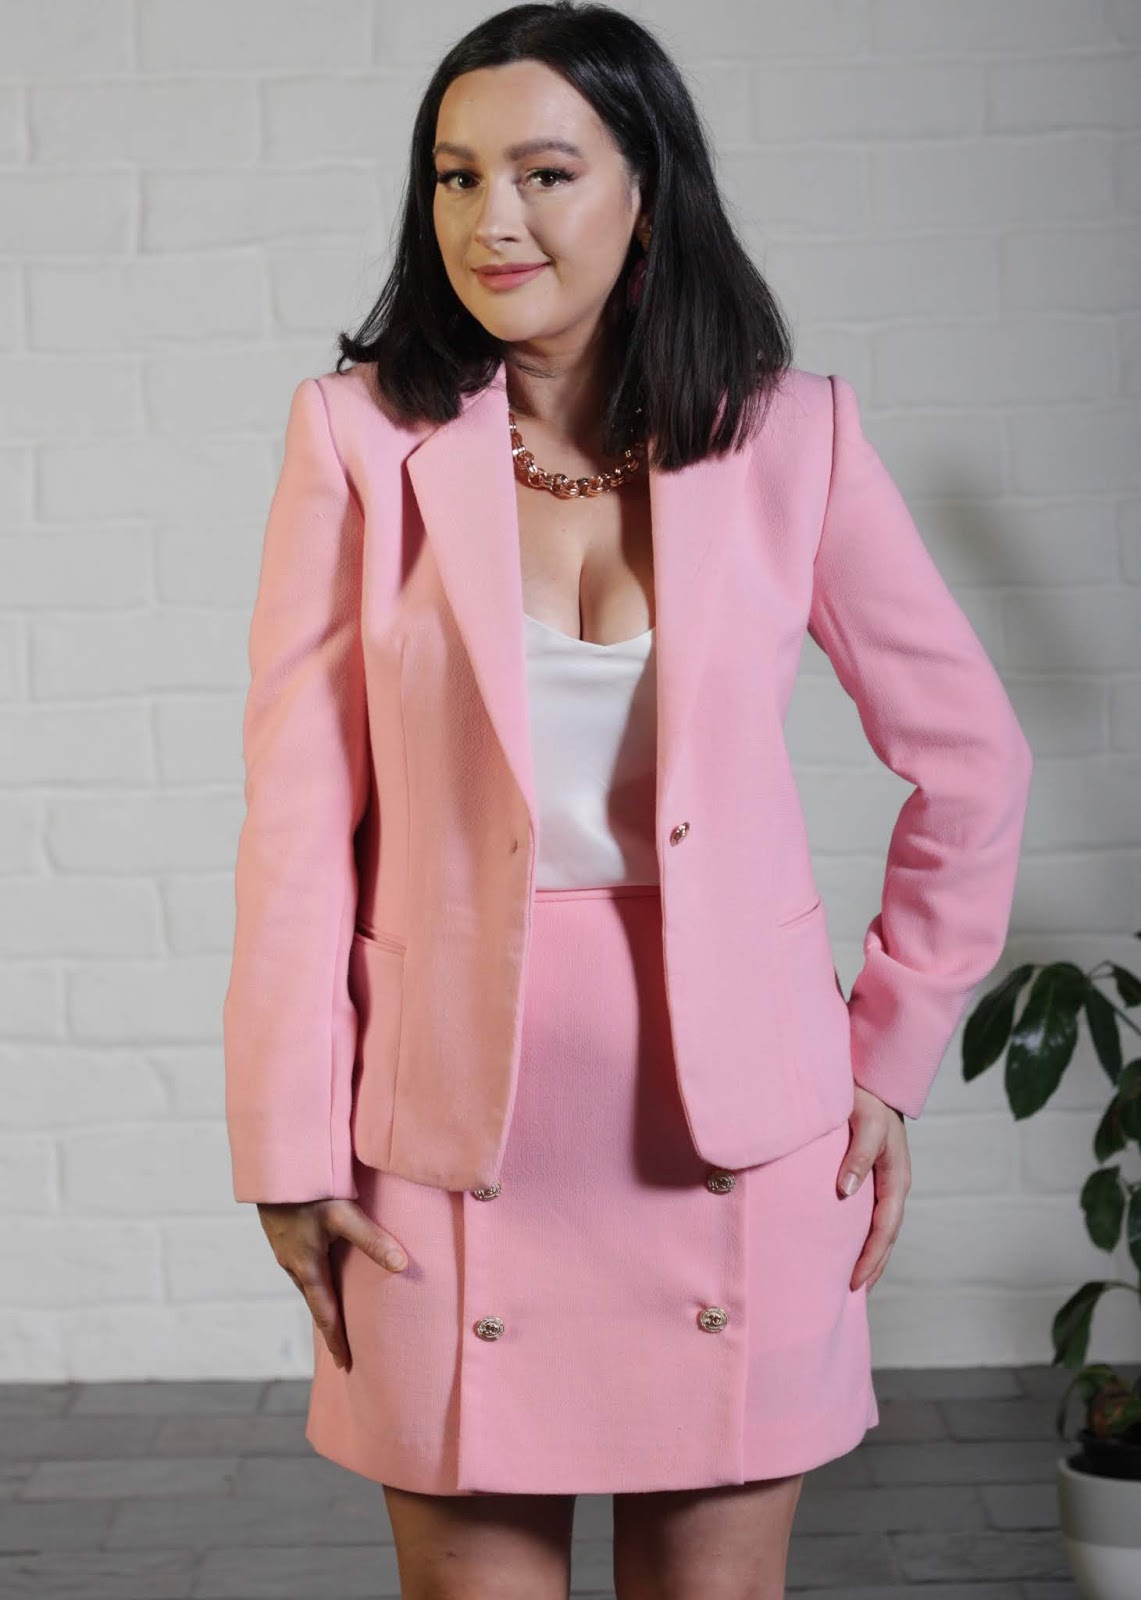
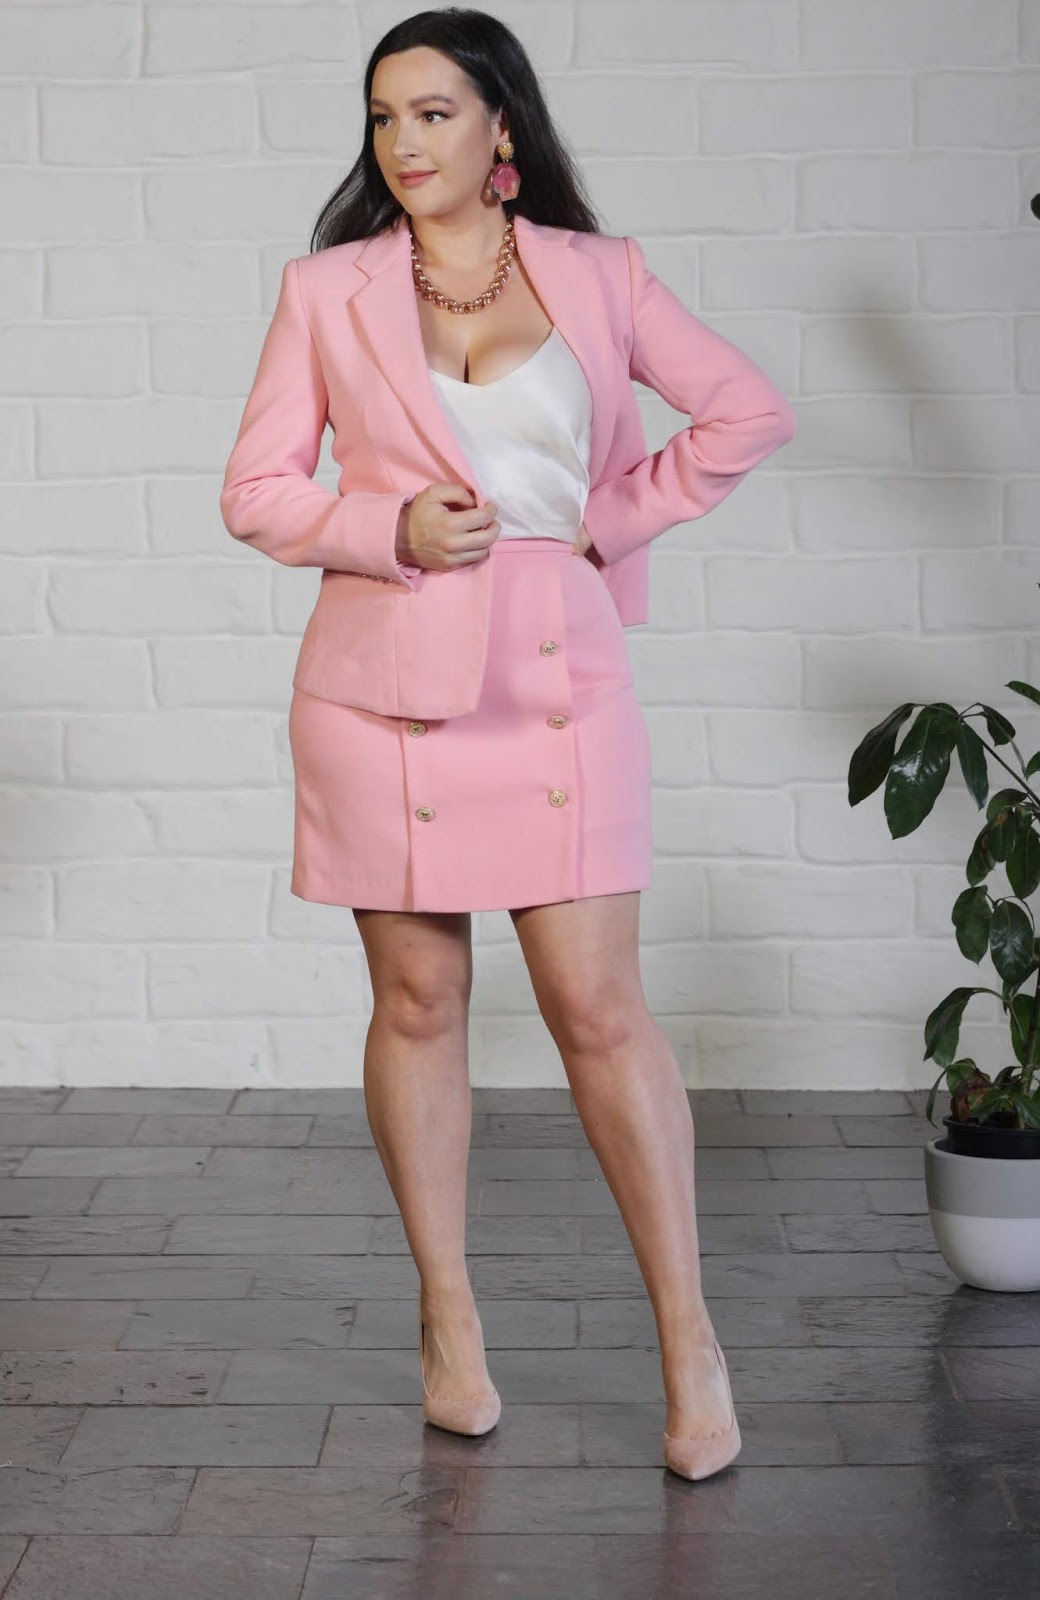
I've always been fascinated by the engineering of such garments and intimidated by their apparent complexity but I decided I was ready to take the plunge and challenge myself to make a proper, bespoke blazer; and HERE IT IS!
THIS BLAZER includes:
- Canvas (soft hair cloth) interfacing
- Pad stitched lapels and under collar
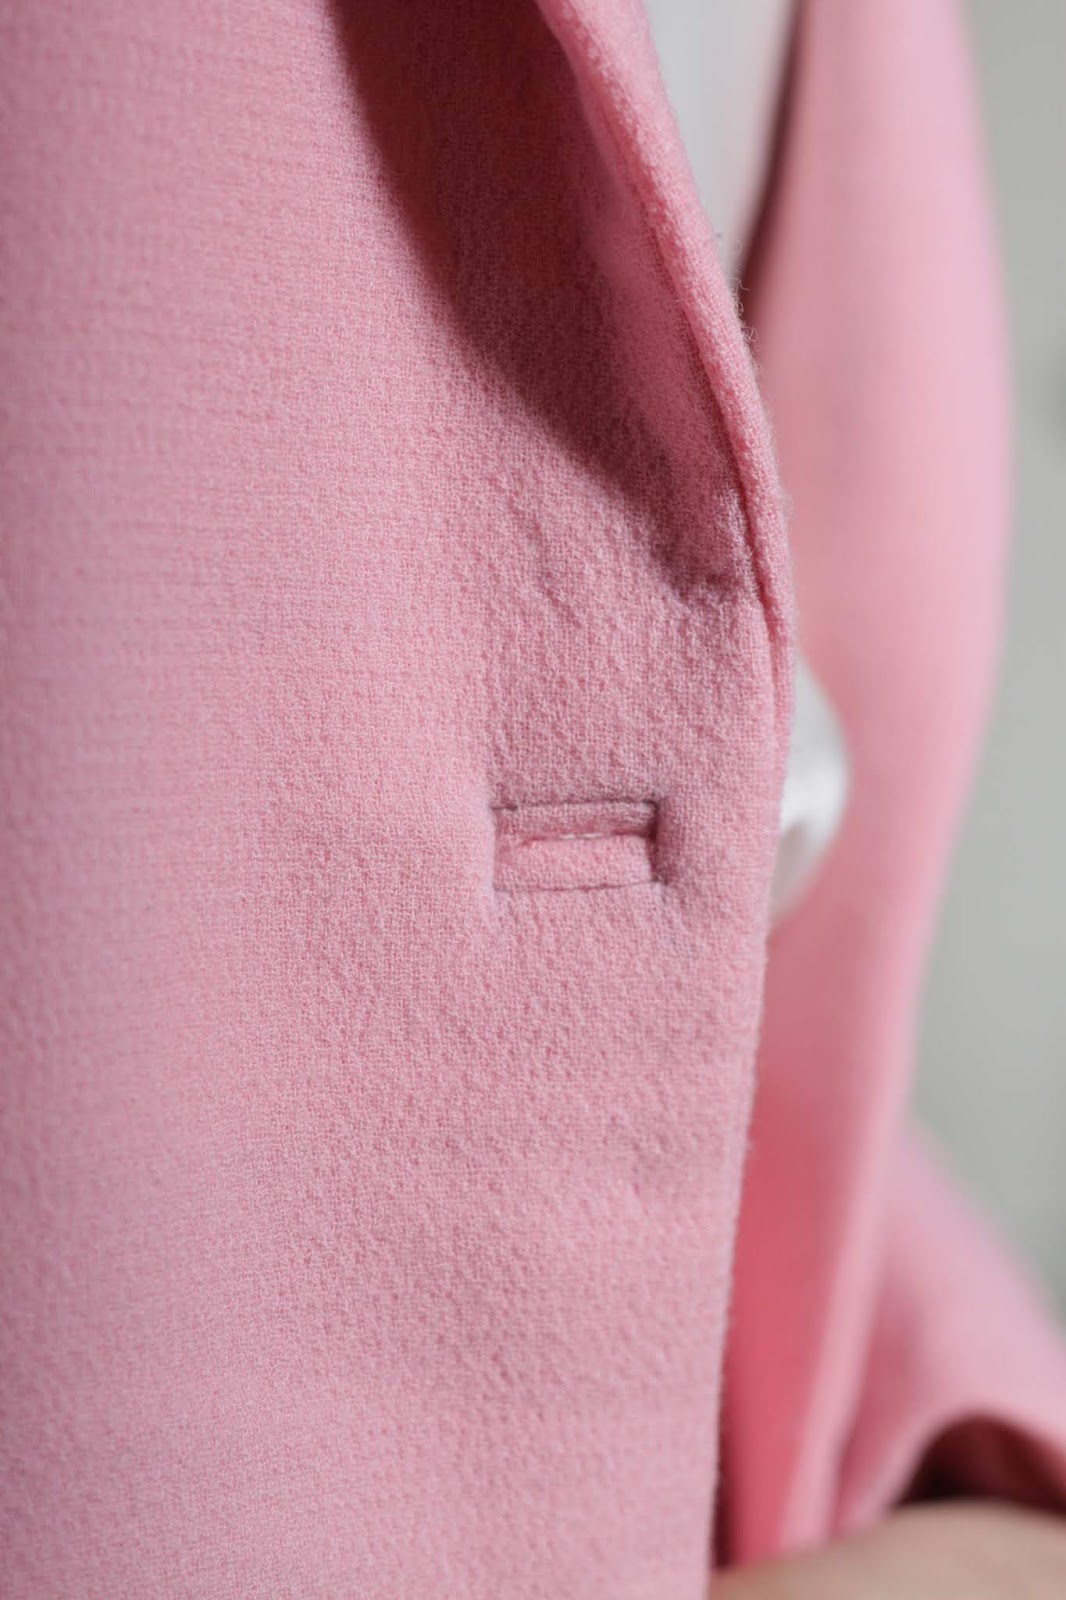
- Bound button holes
- Surgeon sleeves (vented sleeves) with mitred corners
- Sleeve heads and shoulder pads
- Silk organza back stay
- Double welted pockets
- Twill tape along roll line and facing edges
- Liberty of London pocket lining
- Silk lining, each piece sewn in by hand
- Blind stitched and canvased hems
- Wool felt under collar
- Upper and under collar sewn to neck and gorge line by hand
- Vintage buttons
- All hand sewing completed with silk thread
The Fabric
The most beautiful Italian double wool crepe from Mood Fabrics.
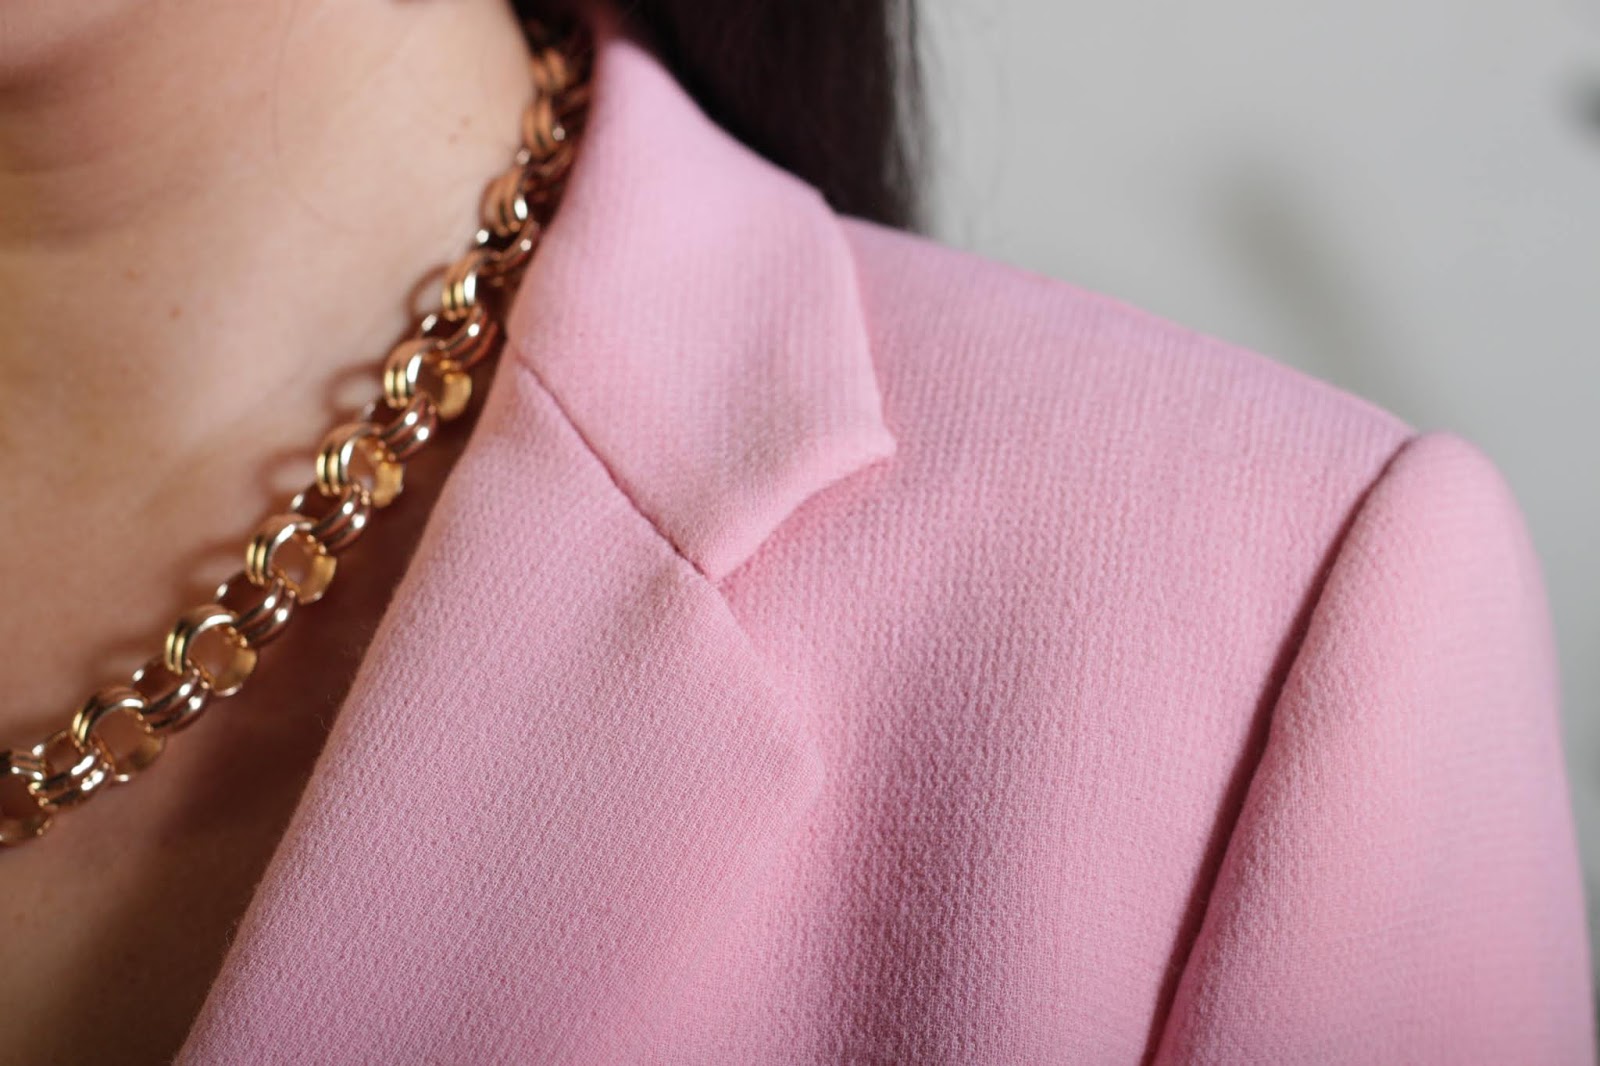
The weight and drape of this fabric work so well with this pattern, and the thick texture hides hand stitching well.
It is lined with a 19mm silk satin from Home Craft Textiles, which makes wearing the jacket feel luxurious and super comfortable.
For the JACKET I used Burda 6875 in View A
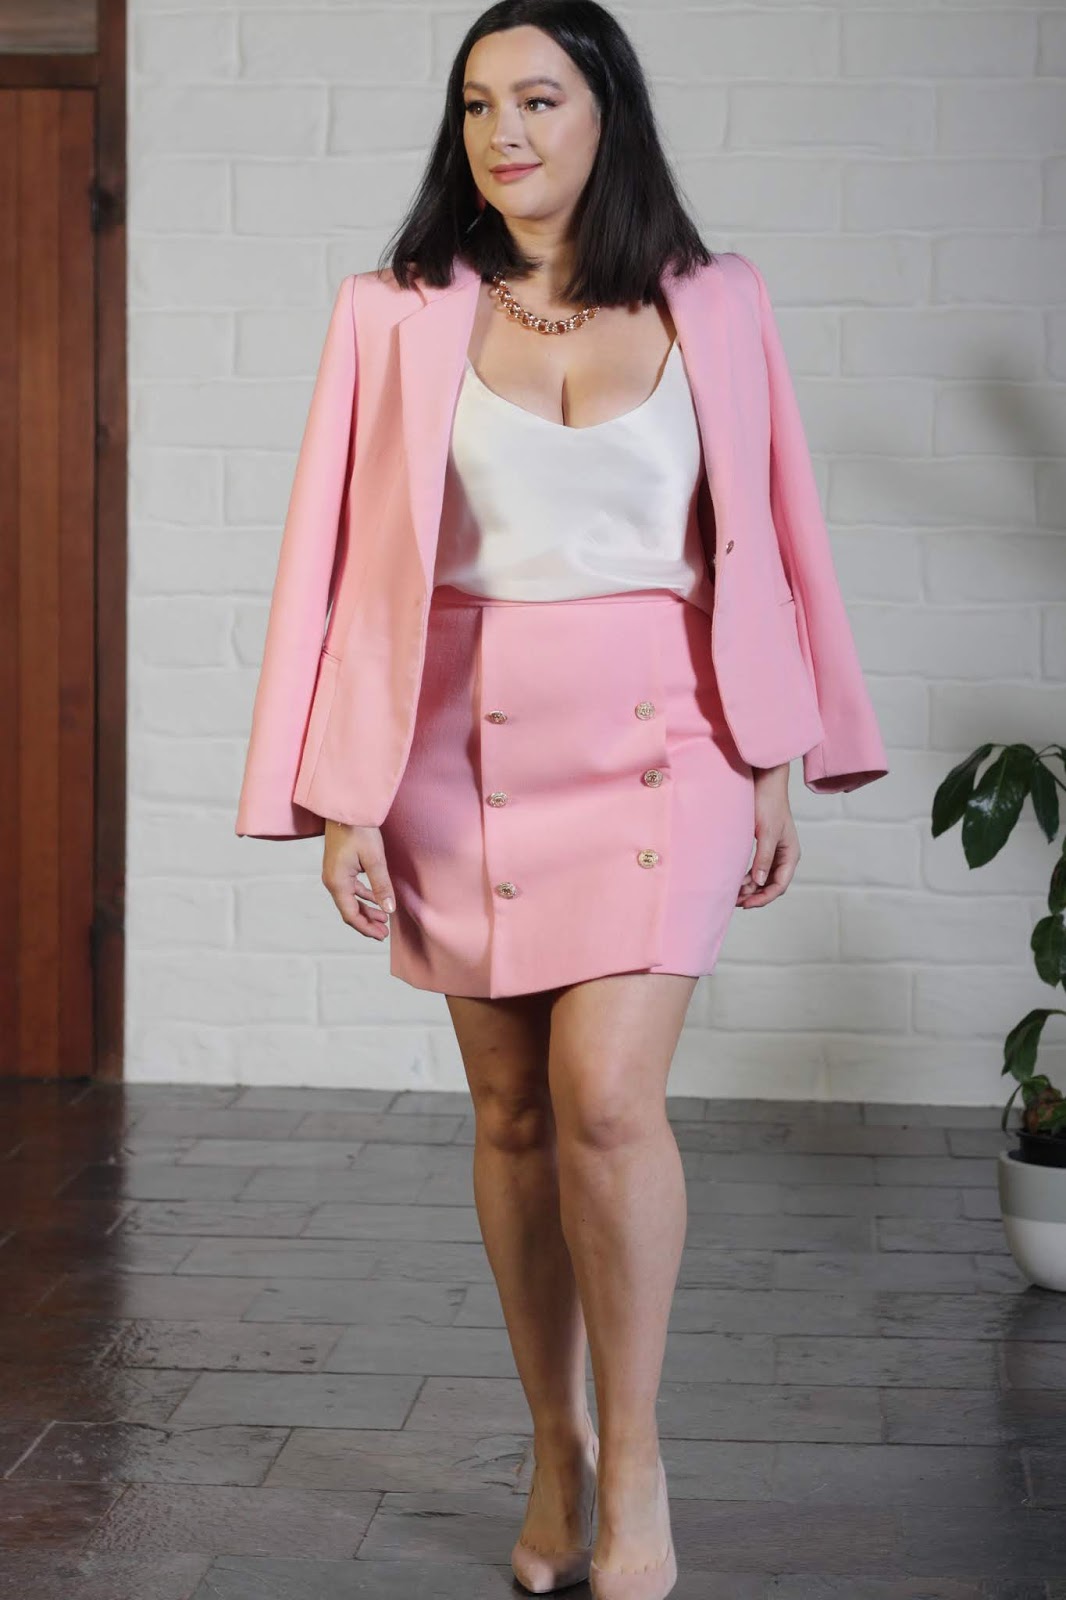
THE SKIRT is self-drafted with a faux button placket, fully lined and a blind stitched hem. The waistband of the skirt is interfaced with silk organza (attached by hand) and closed with an invisible zipper down the centre back.
The CAMI is another Kate Bias Top by Just Patterns in a silk satin from Home Craft Textiles. I used silk organza as interfacing, instead of stay tape and I under-stitched the lining with a pick stitch by hand.
Changes
The construction of this jacket was very different to the original pattern, considering it was tailored and mostly hand sewn, but as for changes to the actual pattern, I did the following:
- Lowered the top button and removed the second to make it a one button closure
- Made a bound button hole instead of a machine button hole
- Lengthened the sleeve vents to 11.5cm
- Removed the centre back vent for a European style
- Made a 2cm sway back adjustment
- increased the width of the hip at the side seams and back princess seams by 4cm total.
- Added 3cm to the width of the lining armhole to accommodate the shoulder pad and sleeve heads.
- Vented the sleeve lining hems so surgeon sleeves could be functional
Pad Stitching
Pad stitching is the art of sewing together the two layers of fabric, the garment and the canvas interfacing, to act as one.
It is done using small hand stitches that run along and parallel to the roll lines of the collar and lapel. When done correctly these stitches are almost invisible on the right side of the garment.
When stitching, the fabric and canvas is rolled over the index finger to encourage a curve in the fabric. Smaller stitches are made at lapel corners and at the roll line to set the roll line and to make corners of lapels and collars turn slightly to the body, rather than sticking out.
This is my first time pad-stitching and the results are so effective that it has completely won me over. No more stick-out corners, or twisted lapels. The lapel and collar curve to the body and refuse to fold anywhere but along the roll lines.
The under collar is made of wool felt and cut with out seam allowances. The under and upper collars are sewn by hand and attached to the garment with a fell stitch. This gives such wonderful control, and is apparently the mark of a true bespoke jacket.
The under collar is made of wool felt and cut with out seam allowances. The under and upper collars are sewn by hand and attached to the garment with a fell stitch. This gives such wonderful control, and is apparently the mark of a true bespoke jacket.
Tailoring
I spent countless hours sleuthing the internet for any bits of information I could find on pad stitching and tailoring. If it's on the web, I've likely seen it by now. I also purchased the book 'Tailoring: The Classic Guide to Sewing the Perfect Jacket" which is an excellent resource and very picture heavy.
Below are a few progress pics of jacket, which I documented in my Instagram stories.
You can see the whole process and a lot more photos on my instagram highlights saved under 'Tailored Jacket'.
Final Thoughts
This jacket took countless hours and a lot of patience. I took my time to do a toile before I started sewing, and to practise making the welt pockets and bound buttonholes.
I originally set myself the challenge of making a tailored jacket to further my learning and to see just how much of an impact the engineering had on the final product. What I didn't expect is just how much I would enjoy and fall in love with it! Since posting this I have made and completed my SECOND tailored blazer (coming soon) and I already have plans for my next.
This was a project of love and I am so thrilled to learn these news skills. They have absolutely heightened my enjoyment of the final garment and makes me excited to learn more!











Beautiful work!
ReplyDeleteThank you so much, Lodi!
DeleteWhat an exquisite job you have done on this jacket.
ReplyDeleteThat is so kind of you, thank you!! I'm so glad it all came together and it's so nice to hear people like it!
DeleteFantastical!! Just don't wait too long to do another.
ReplyDeleteBarb
Thanks so much Barb! I've actually already finished my second now! ha! When I get into something, I become an evangelist for it! And planning my third!
DeleteThe entire ensemble is just glorious and I loved following the process on IG!! I'm so jealous that you managed to get the time and motivation for full-on tailoring projects!!
ReplyDeleteThank you so much Delphine! Thanks for following along on instagram too :) I love looking back on the progress shots to see how it all came together!
DeleteAnd I basically had zero social life for about three weeks while I made this!! :)