There's something about making coats, isn't there?
They are such a labour of love, get so much use, and make you feel like you've really made something clever!
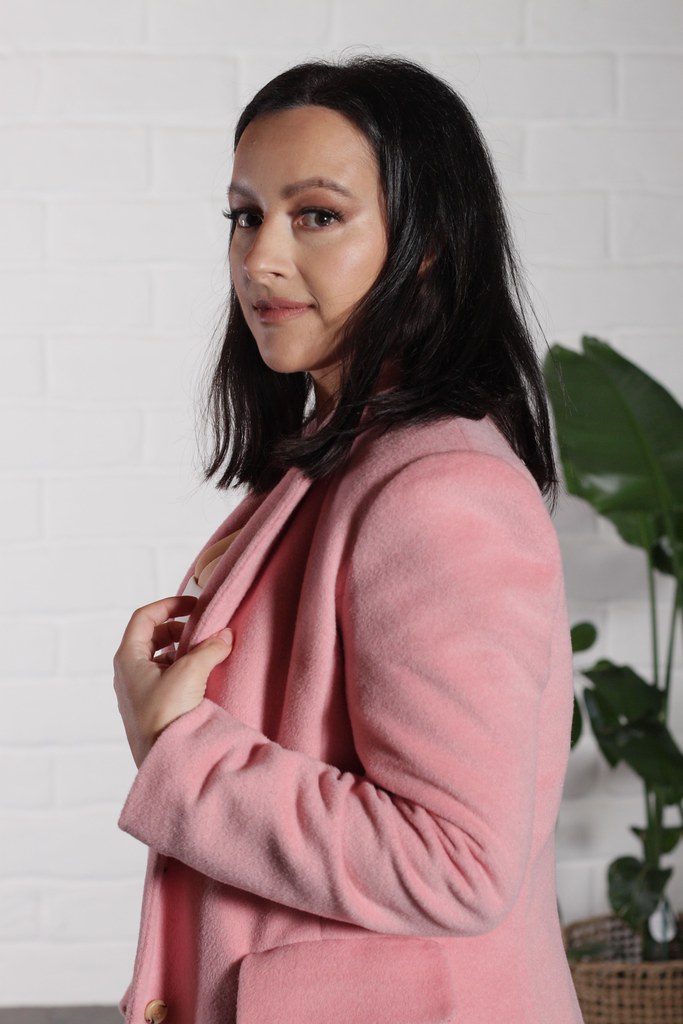
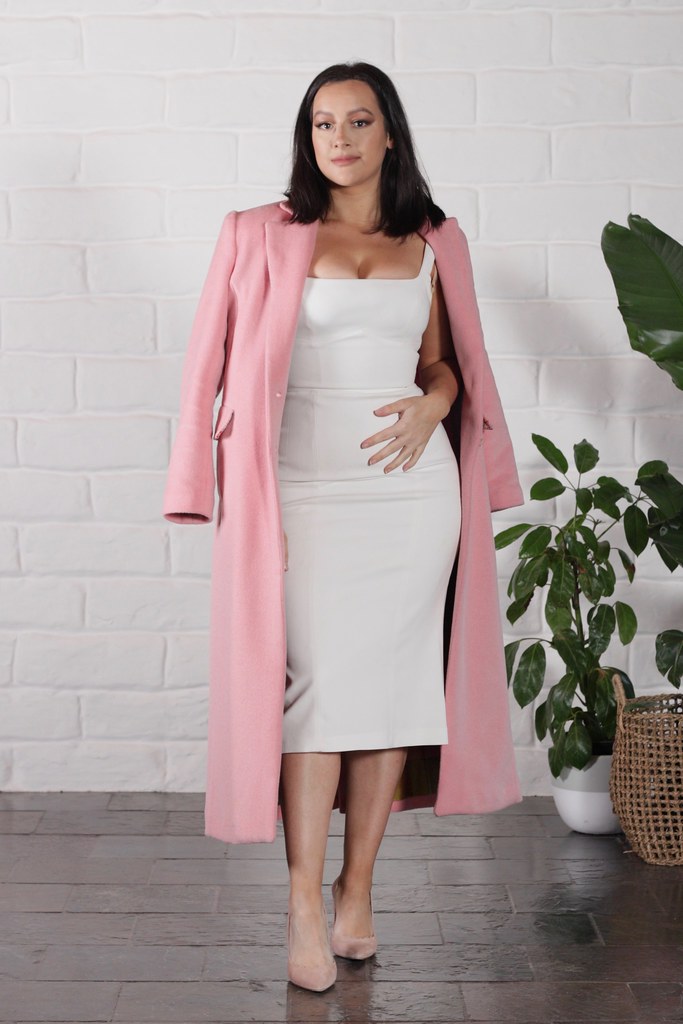
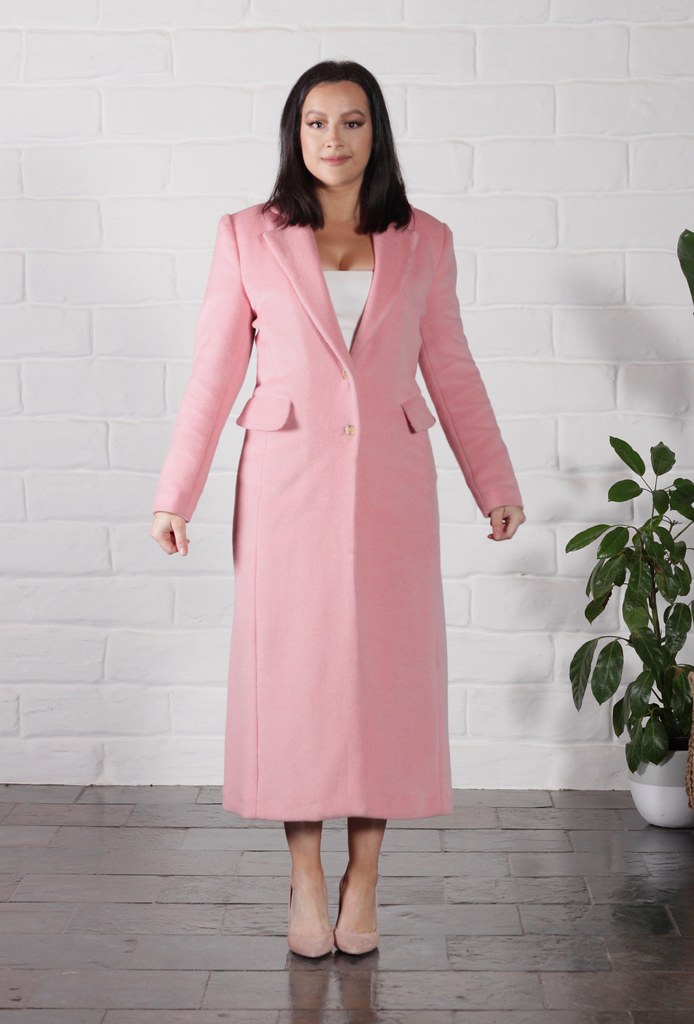
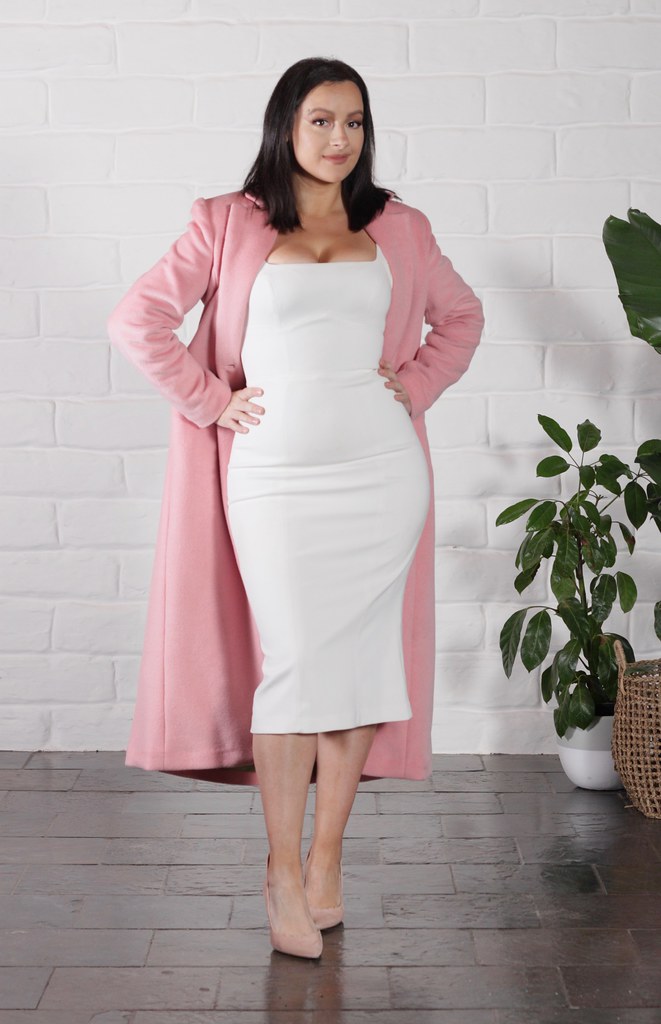
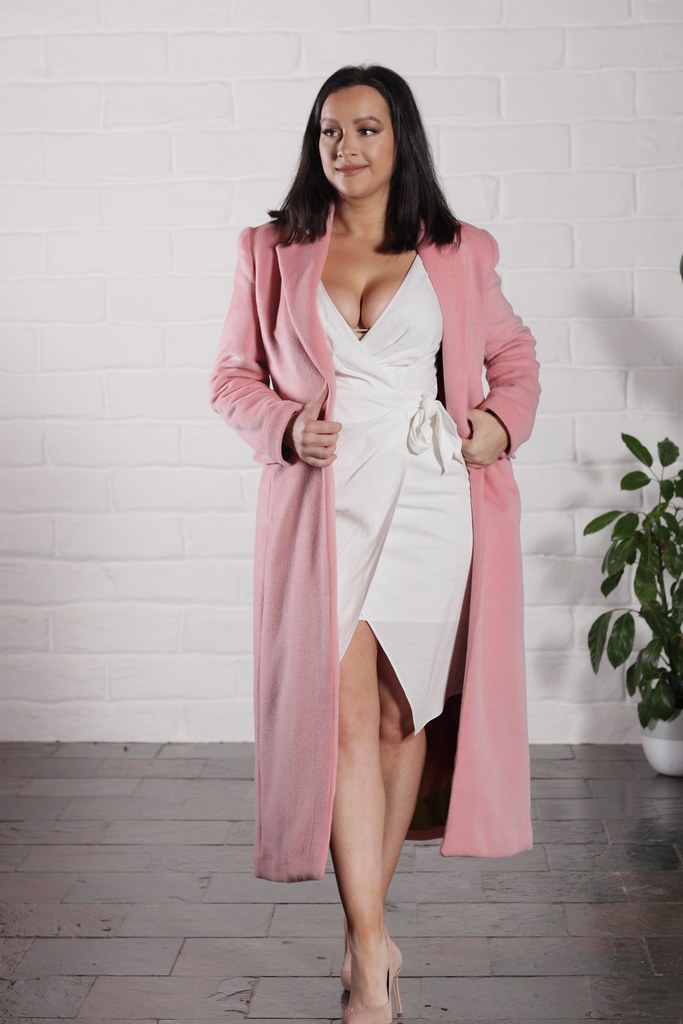
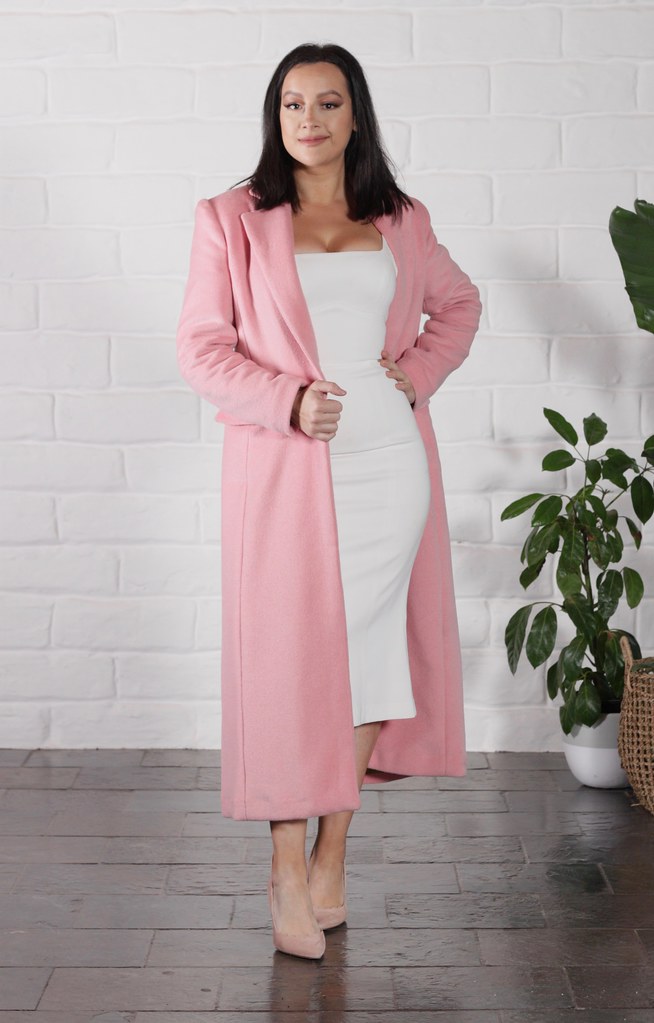
Introducing my latest make, my 2019 winter coat.
The Pattern
I used Burda 6845 in View A which is a slim-lined coat with a flap pockets, a lapel and a rear walking slit.
The Fabric
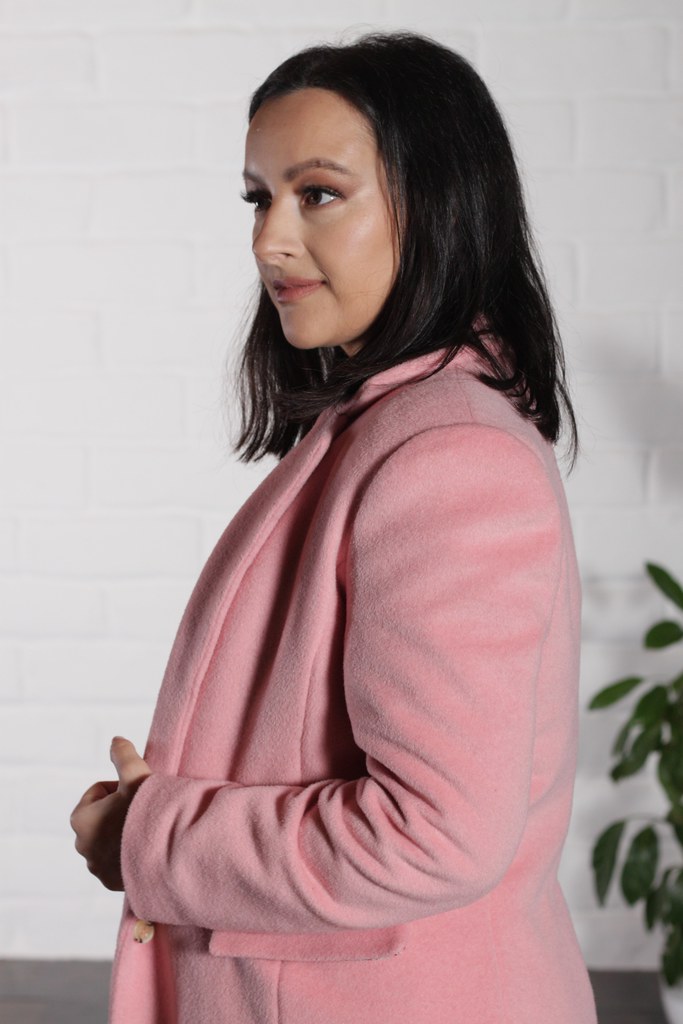
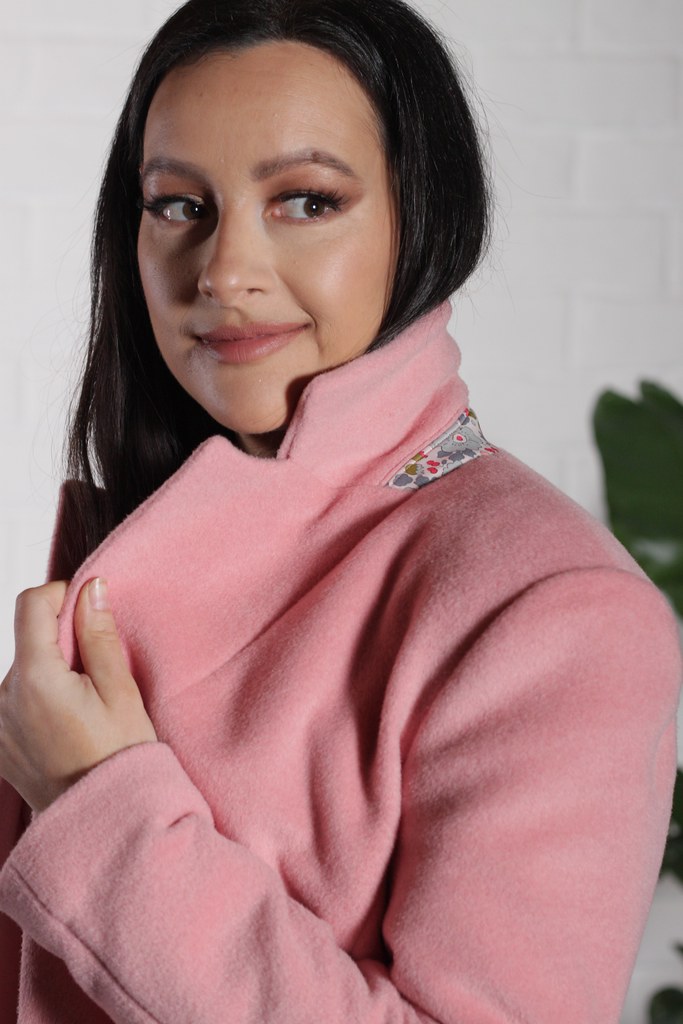
The outside of my coat is a beautiful fabric from Tessuti Fabrics made up of 50% wool and 50% mohair, with a weight of 570gsm. It is so soft and such a lovely pink and has such incredible warmth; a must for a winter coat!
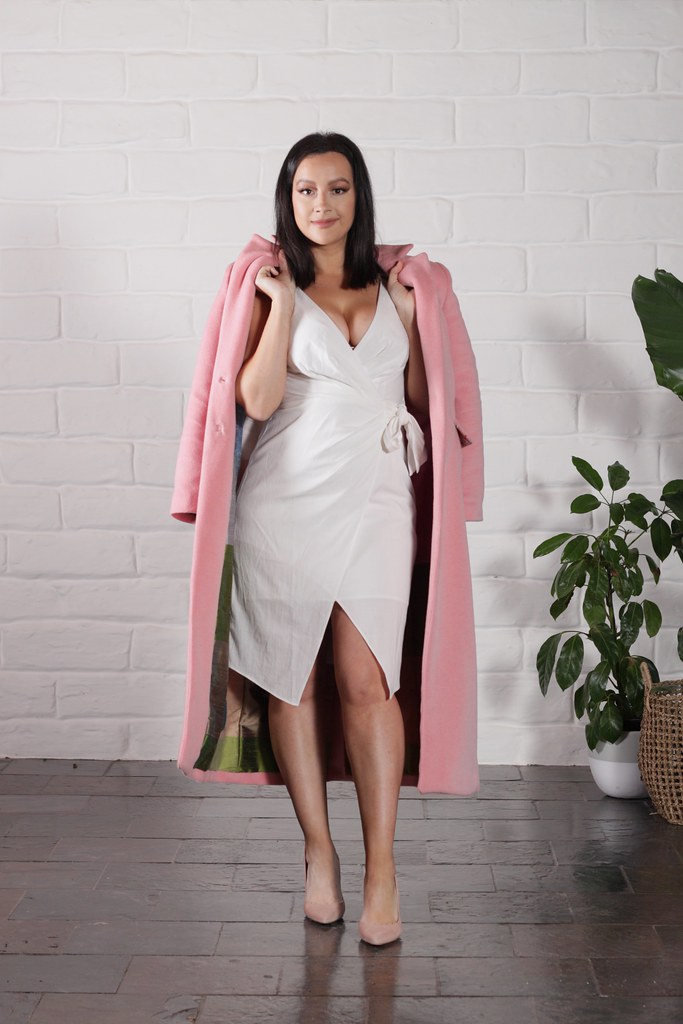
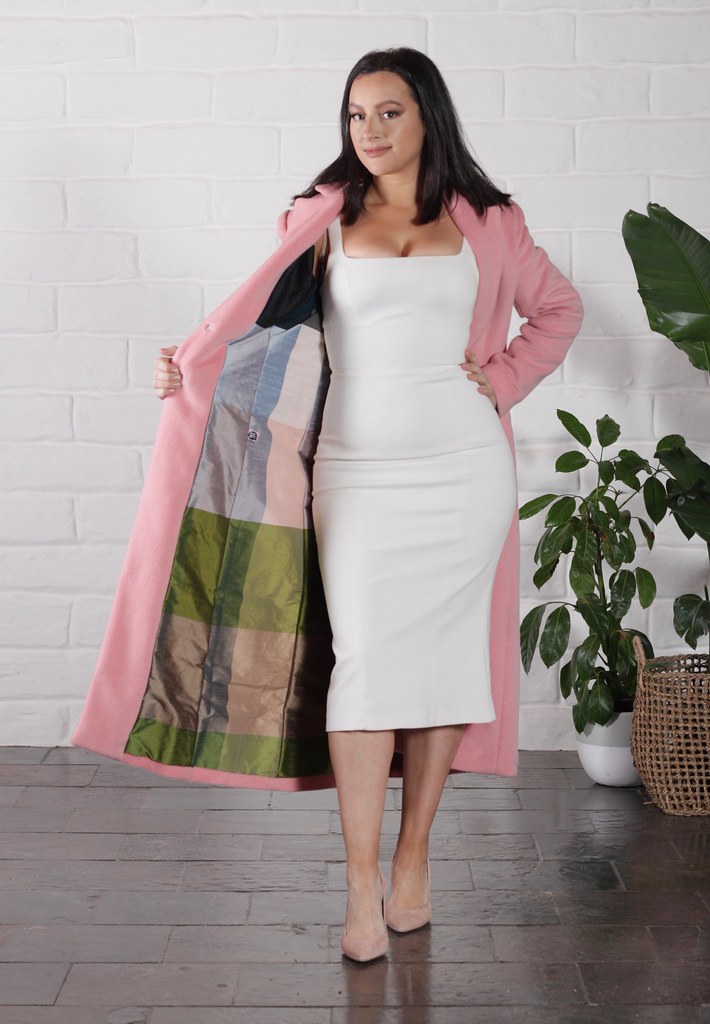
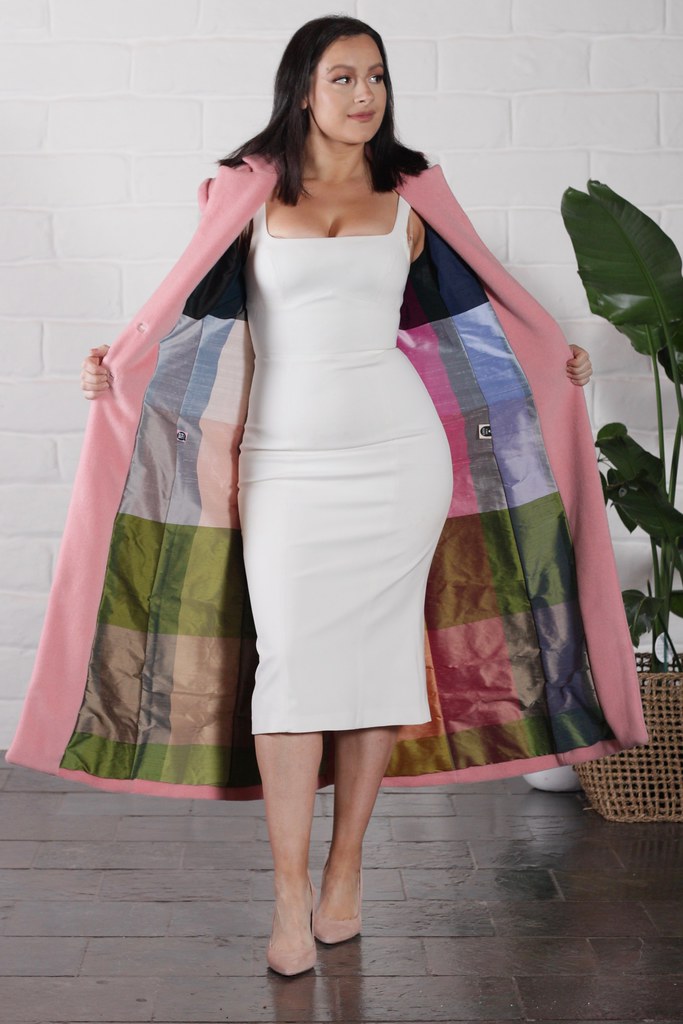
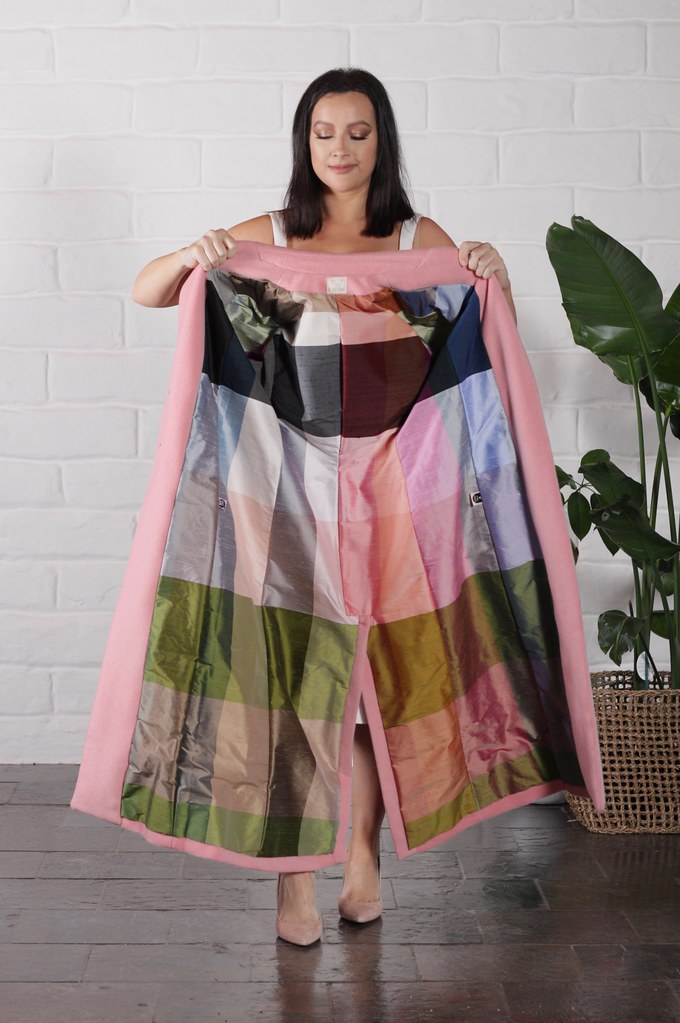
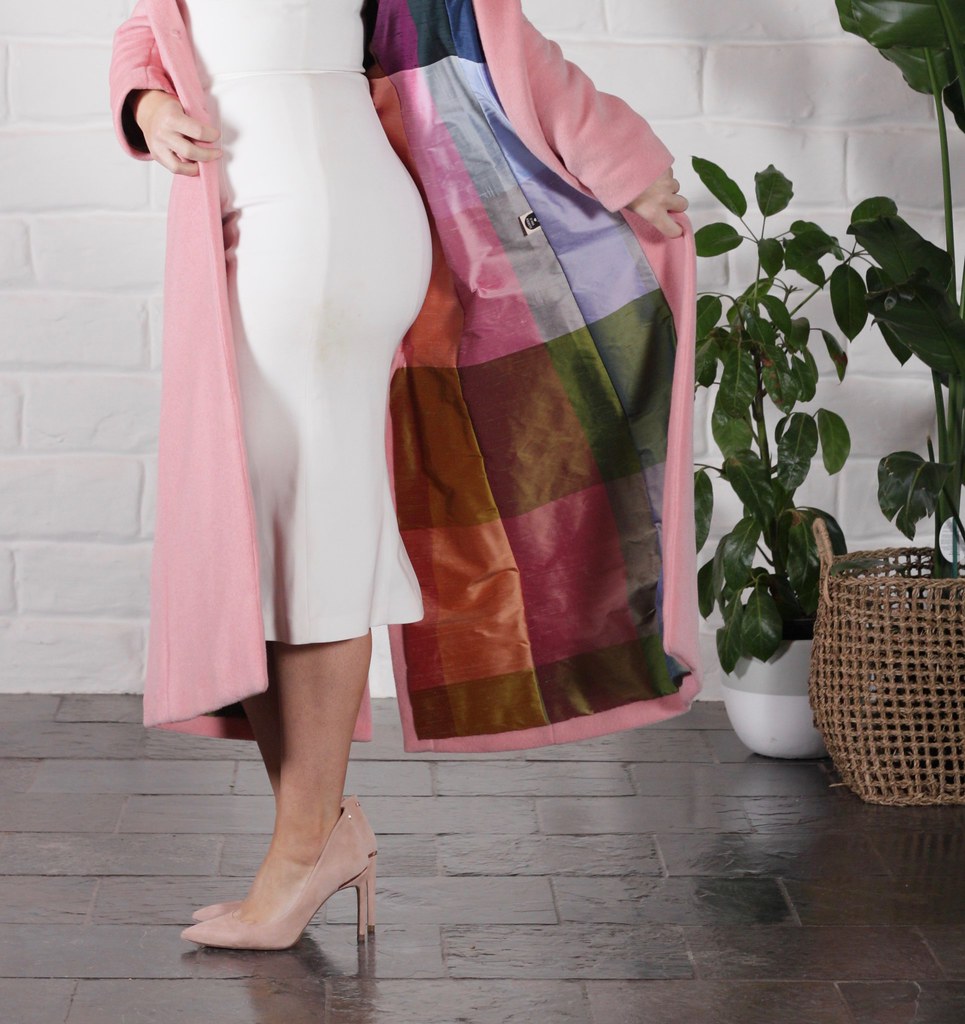
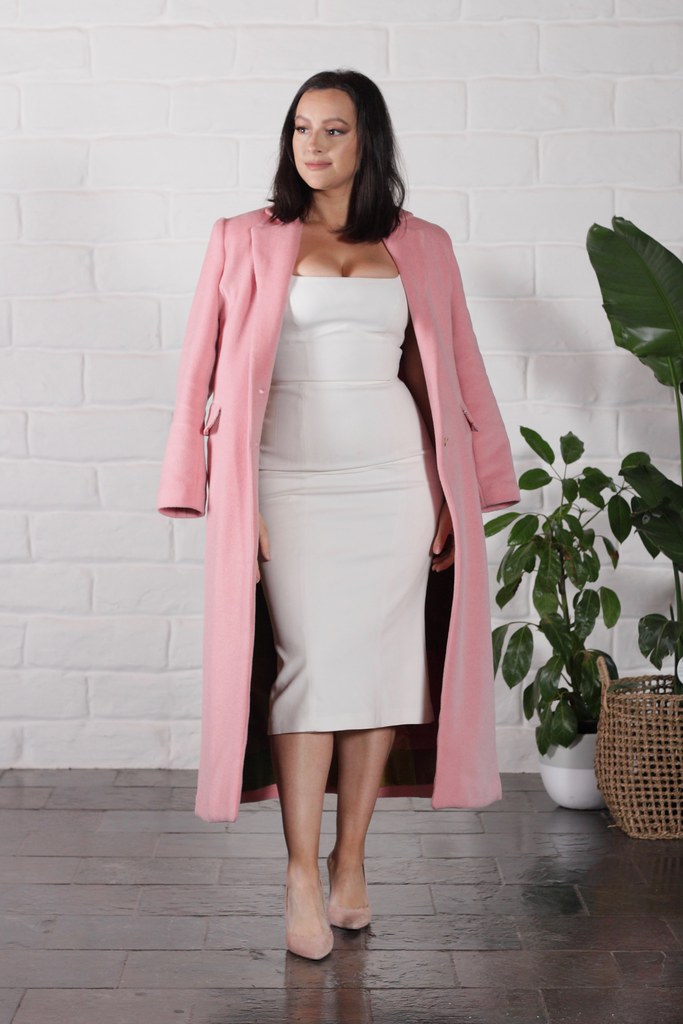
I lined the coat with a silk dupion that I've had in my stash since the beginning of time. I love how it features different blocks of colour which compliment nicely with the coat fabric.
And did I carefully match up those squares of colour? Why yes, yes I did. Thanks for asking.
Notions
Buttons from Spotlight
Whisper-weft interfacing
Guterman thread no. 473
Uncovered shoulder pads doubled up.
The Details
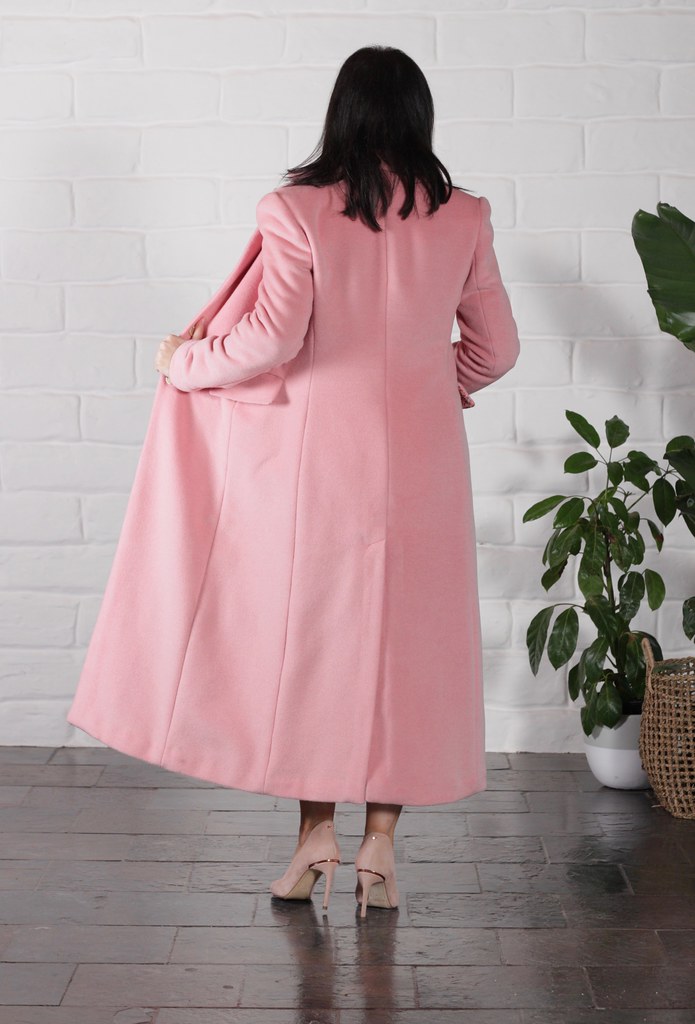
I love how the LINING HAS A PLEAT at the centre back waist as well as at the base of the neck. It allows for extra movement when you're wearing your coat so that the lining doesn't rip or pull.
THE DRAFTING of BurdaStyle patterns is always so beautiful. Where they might lack in pattern instructions, they make up for in pattern details.
The princess seams flatter and shape the body, and the two piece sleeves naturally curve at the elbow and shape the arm.
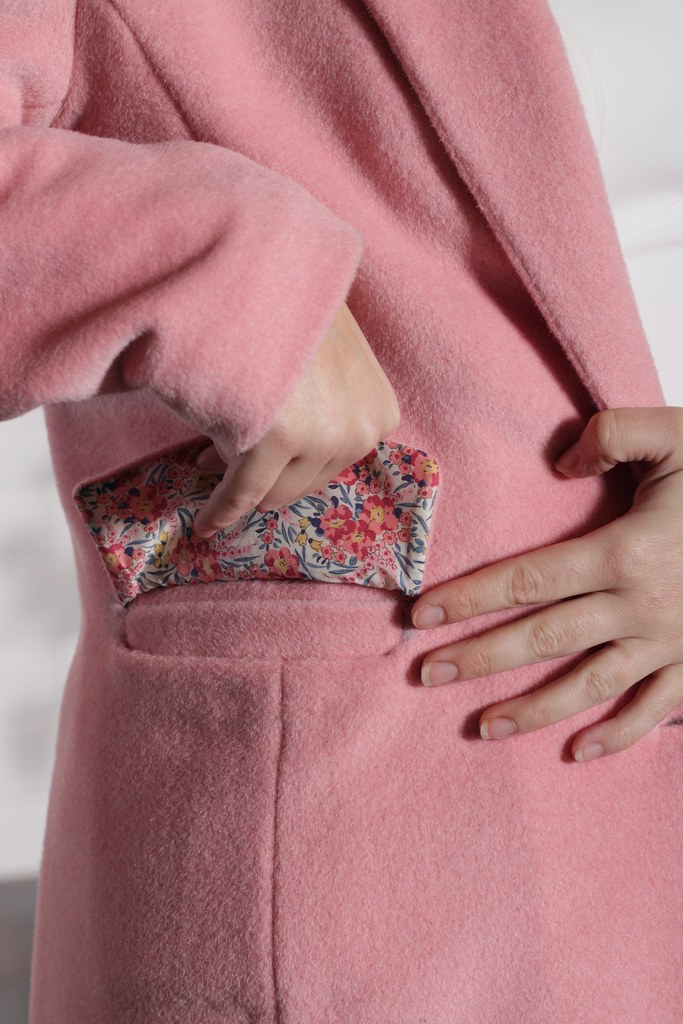
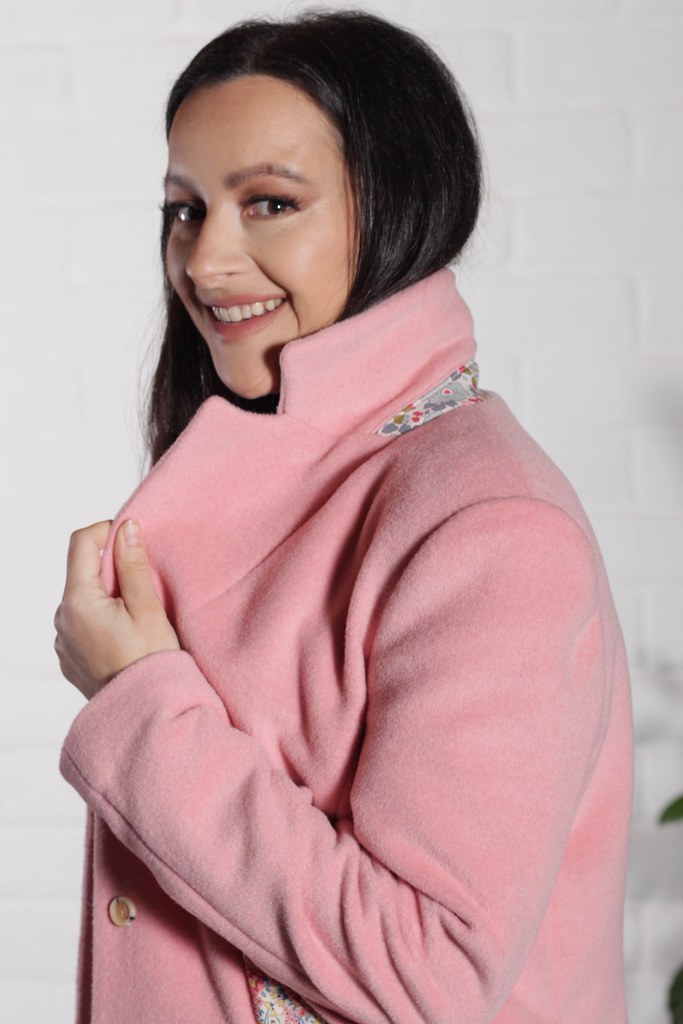
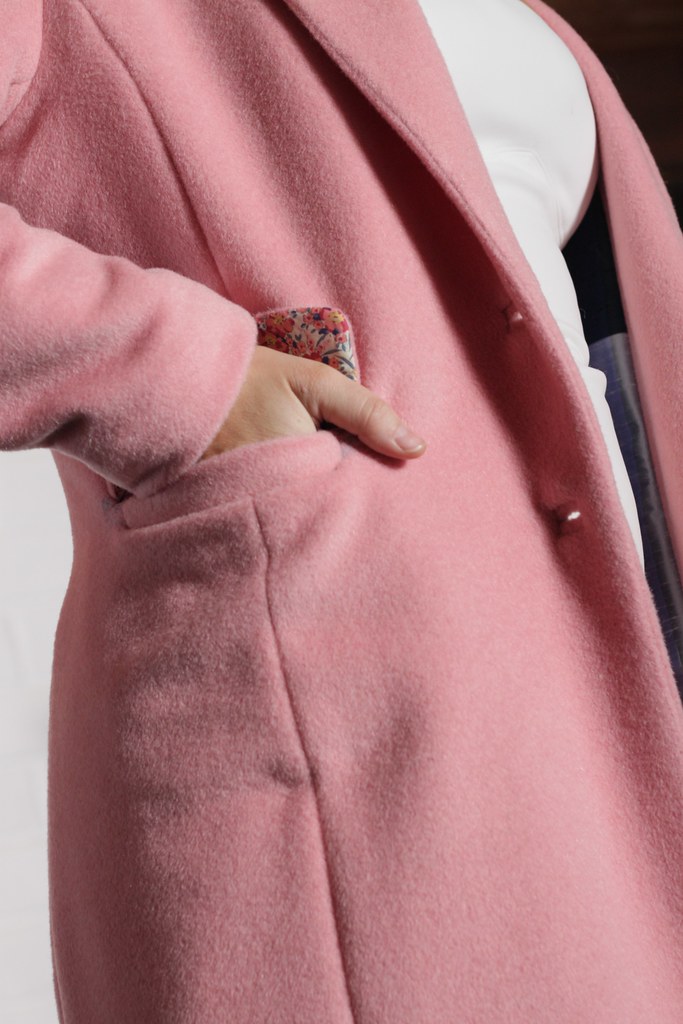
I love the FLAP POCKETS which sit just at the right height, which I lined with liberty of london fabric for a little extra something.
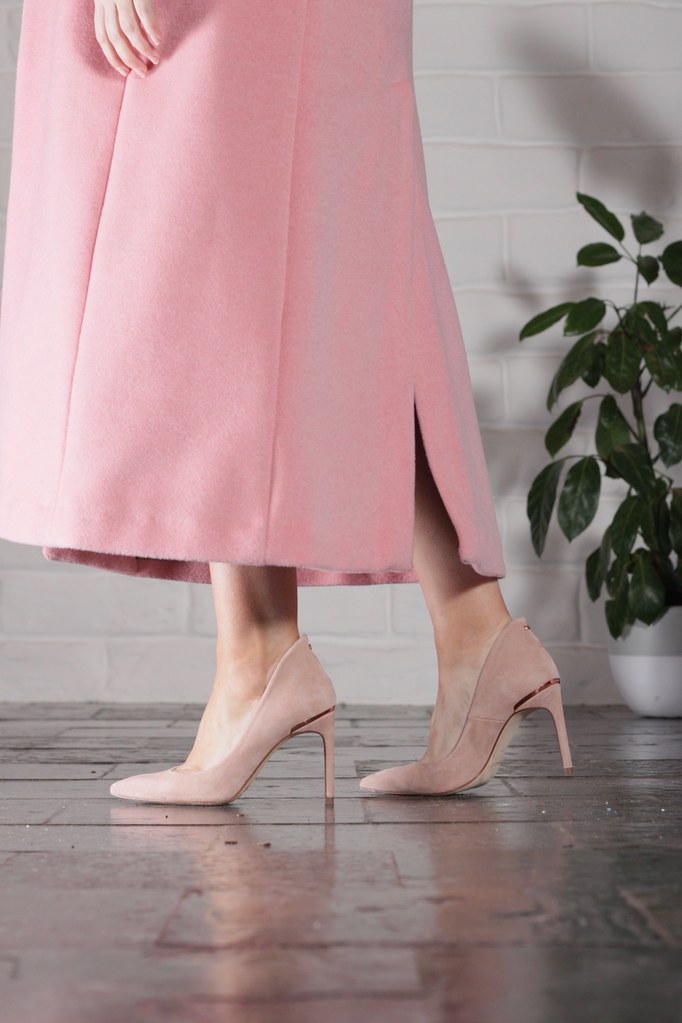
I'm in love with the LENGTH OF THIS COAT. I had been day-dreaming for a while about a long coat, and this one hits the ankle at just the right point on my 5'4" frame.
I added thick, uncovered SHOULDER PADS to the coat and I love the balance and proportion it gives the finished look. Because of the structure and length of this coat, it absolutely needed a strong shoulder to balance the look.
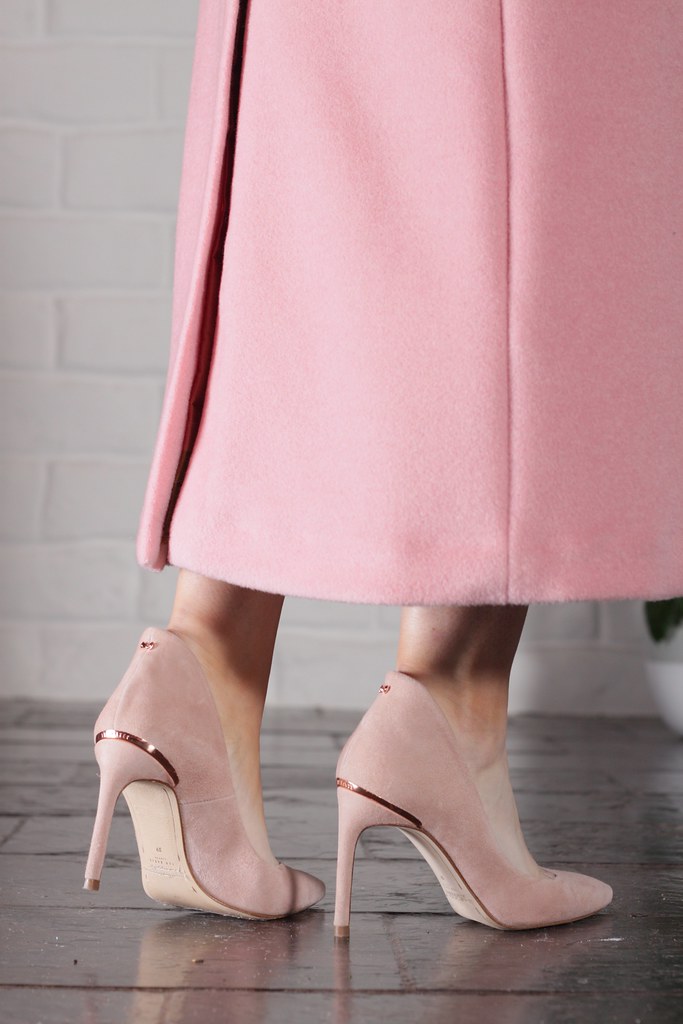
The centre back of the coat features a WALKING VENT which is practical and polished.
The width and shaping of the COLLAR AND LAPELS is just right; not too bulky and with lovely sharp angles. I also added liberty fabric to the collar band for a little secret contrast.
The Buttonholes
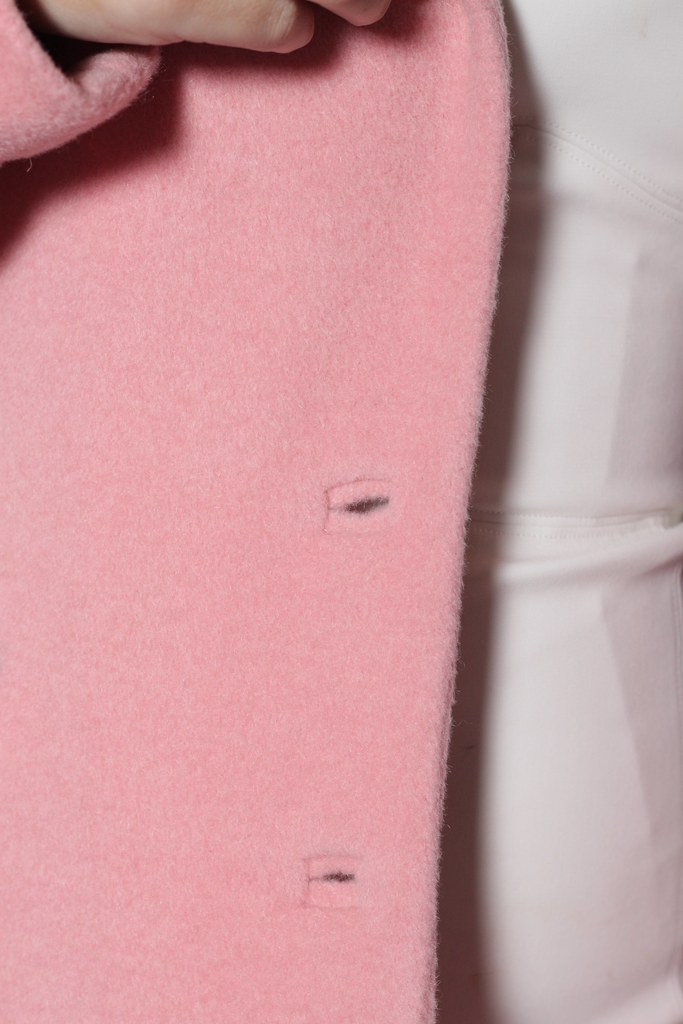
One of the nicest techniques to do add to a jacket is bound buttonholes. It's what elevates a look from off the shelf to couture, and it's something you hardly see on a jacket anymore.
A bound buttonhole is the process of adding two 'lips' to make a place for your button to go through, rather than a slit wrapped tightly in thread. It definitely takes more time and requires a fair bit of concentration, but the end result is lovely and incredibly satisfying! It's such a lovely way to treat yourself and your coat!
You can click here to follow my tutorial on how to make and face a bound buttonhole.
Changes
Before I even looked at patterns, I knew I wanted to make a midi length, oversized suit style coat that could be both formal, or dressed down with jeans and a tee.
This pattern comes with three centrefront front buttonholes as closures. I wanted to mimic more of a suit jacket, where the buttons started lower down. So I REMOVED THE TOP BUTTONHOLE, and slightly modified the angle of the lapel so that it sloped towards the new top buttonhole (originally the middle buttonhole).
I also removed the PLACKET ON THE SLEEVES as I felt the coat had enough detail already. The coating fabric is quite thick, and I didn't want to add extra bulk at the cuffs, or run the risk of it looking messy.
I interfaced the hems of the bodice and sleeves for extra structure and support.
I lined the pockets and pocket flaps with liberty fabric for a little extra detail, and hand tacked the pocket bags to the coat so that they wouldn't fold or move around.

Look Out For
I found step 30, which instructs you to attach the lining to the back vent quite confusing. In the end I pinned it in place and hand stitched it so I had more control and to ensure the lining didn't pull and distort the drape of the vent.
I also hand stitched the vent hems along the centre back to keep them in place before attaching the lining.
The instructions for adding the welt pocket and flap is also a little confusing.
I highly recommend you cut out one muslin pocket and practise on that before trying it in your proper fabric.
The pockets are time consuming and the success relies on precision and patience, so it is worth taking that extra time to establish the techniques if you haven't done one of these pockets before.
Tips For Bulky Seams
Tailors Clapper, where have you been all my LIFE?!!!
I love top stitching, and it's a great way to keep seams flat and neat. But for this coat I really wanted a crisp look without top stitching and I so I asked the internet Gods how to achieve this; they came through.
If you are wanting to get the cleanest, flattest seams then you absolutely have to invest in a tailors clapper.
It honestly made a huge difference to just steam ironing and when you're using thick fabric like this 570gsm coating it's a must.
When steam ironing your seams, you replace the iron immediately with the clapper and press it there for around 5 seconds. The wood absorbs the moisture from the steam and traps the heat into the fabric, rather than releasing the steam and heat into the air.
Final Thoughts
I'm not going to lie, thanks to this lining I've had 'Joseph and his amazing technicolour dream coat' stuck in my head on repeat. I may never be able to squash that ear worm and that's ok, because this coat makes it worth it.
I wanted a long coat, I wanted a warm coat, and I wanted one that would mimic a suit jacket. This coat has ticked all those boxes and I am thrilled that it was successful considering all the time I put into it.
It's another reminder that you never regret taking the time with techniques and fit.

















Stylish and gorgeous both you and the coat
ReplyDeleteBeautiful
ReplyDeleteThank you Sherrell, much appreciated! :)
DeleteIs dupioni actually comfortable as a lining? I would be concerned it would be scratchy and not slippery like a standard coat lining.
ReplyDeleteI usually use a silk satin, but so far so good! Plus because it's a winter coat I'm usually wearing long sleeves underneath so there's no skin contact :)
DeleteOh my goodness, your coat is absolutely beautiful! Happy wearing!!
ReplyDeleteThank you so much Lynne! :)
Delete